So I love these new fingerless mittens!! So cute and surprisingly super warm! Check them out on my Etsy store . .. .http://www.etsy.com/shop/thinkinbellecruz
  Great for multi-taskers who text or type all day long!!! So I love these new fingerless mittens!! So cute and surprisingly super warm! Check them out on my Etsy store . .. .http://www.etsy.com/shop/thinkinbellecruz Great for multi-taskers who text or type all day long!!!


 After you cut out your pieces, you just need to start sewing. This is another "first" project for me so if I can do it . . . anyone can!!! Look . . . I even gathered!!!! :)
 Sew top and bottom bodice pieces . .. for both sides . . . .
 Then you just sew on the straps and start sewing the bodice pieces together . ..
 I should have taken a picture wearing it so you can see just how cute it really is, but I love it! I may have to make some as gifts!!!!


 Ok . . . I REALLY wasn't sure if I could pull these babies off! My co-worker asked me to make them for her for a baby shower she was going to and gave me a Martha Stewart quality picture to go off of. Intimidating!


 I was so inspired by this blog that when I saw this Simple Spa Bench I said to myself . . . "Hey, I can do that!" And voila, this perfect little bench made by ... ME ... and in only a few hours! ALL of the credit must go to Ana @ Knock-Off Wood and her amazing DIY furniture plans inspired by some very trendy vendors! (wink)
I started last night with my little pile of wood. I went to Home Depot and told them what I needed so they cut everything down to size for me, very helpful!! 


 I am not really sure what got into me last weekend but after making some flannel receiving blankets for my sister in law, I was looking at some blogs and websites to get some other ideas and came across some really cute and simple quilting projects, rag blankets!!! OK, I have NEVER quilted or anything even close before but I thought, "hey, if I can make mittens, I should be able to sew this thing together!!!" The patterns I saw also used flannel but I wanted to use a soft cotton so that it wouldn't pill up the way flannel tends to do after several washings.

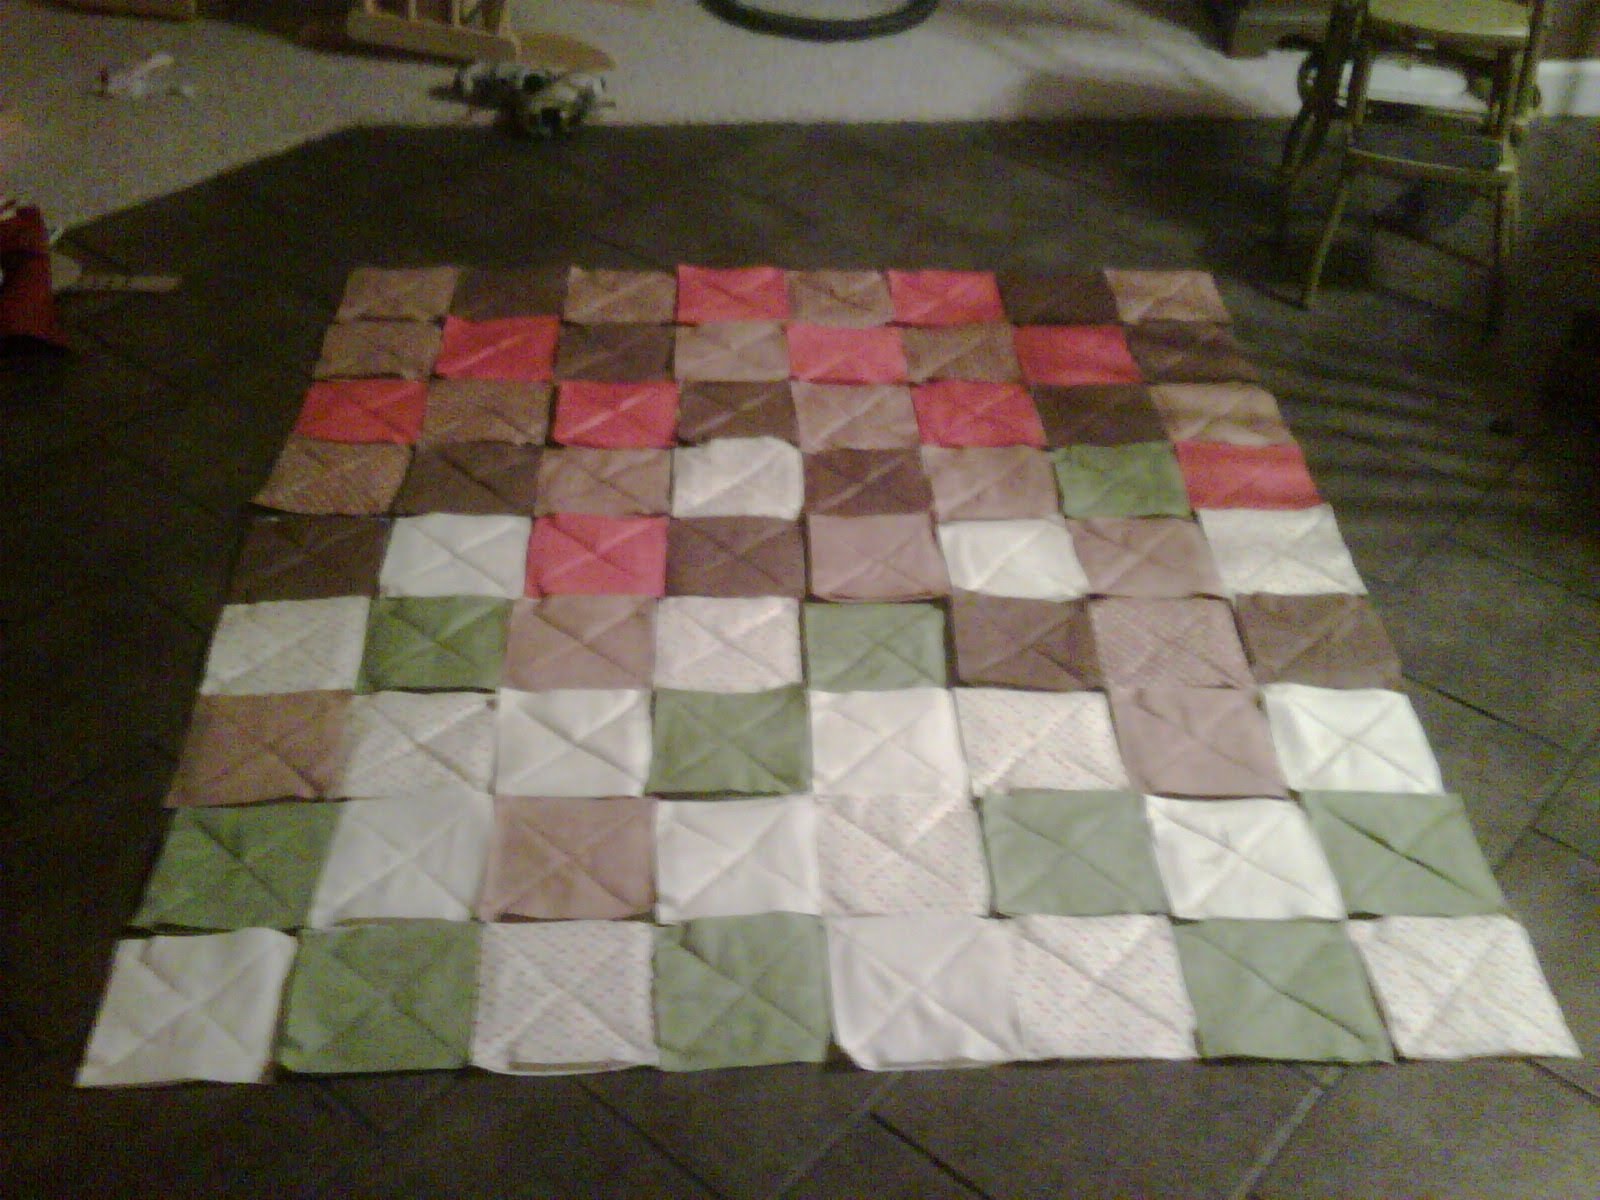 Once you figure out how many squares you need, just decide if you want a pattern or would just rather make a "hodge podge" design of random squares. I referenced two different blankets online to make this pattern. It helped me to lay it all out and make a chart of which fabrics went in each space, that way, the next step was super easy.
 Then start sewing the strips together line by line to make your blanket, keeping all the seam allowances on one side of the blanket.


 I think this was a steal at $2 from some backwoods antique vendor!!! I still need to do something cute with the snowshoes . . . any ideas????


 Holiday Gifts Galore is a show my we (me and my SILs) were in this past weekend! It was a total blast! Besides having only 3 hours of sleep the night before due to last minute finishing touches :). We had so many beautifully refurbished items that I can honestly say, we had the most attractive booth there!!!